WordPress AI Chatbot Setup: A 2025 How-To Guide
In 2025, your website visitors expect instant answers and personalized support around the clock. Failing to meet this demand can mean losing customers to competitors who do. The most effective solution is a smart, automated assistant, which makes a successful WordPress AI chatbot setup more crucial than ever for business growth. This guide will walk you through the entire process, ensuring you can deploy an intelligent agent that enhances user experience and drives conversions.
Why Your WordPress Site Needs an AI Chatbot in 2025
Before diving into the ‘how,’ let’s establish the ‘why.’ The digital landscape has evolved, and static websites no longer suffice. An AI chatbot transforms your site from a one-way brochure into a dynamic, two-way communication channel. The benefits are substantial and directly impact your bottom line.
- 24/7 Customer Support: AI never sleeps. It can handle common queries, troubleshoot issues, and provide information to your global audience at any hour, drastically reducing response times.
- Increased Lead Generation: A chatbot can proactively engage visitors, qualify leads by asking targeted questions, and even schedule appointments, turning passive browsers into active prospects.
- Reduced Operational Costs: By automating up to 80% of routine customer inquiries, you free up your human support team to focus on complex, high-value issues, improving efficiency and lowering support costs.
- Enhanced User Experience (UX): Modern AI chatbots provide instant, accurate answers by pulling information directly from your website’s content. This immediate gratification keeps users on your site longer and builds brand trust.
A Step-by-Step Guide to Your WordPress AI Chatbot Setup
Implementing an AI chatbot doesn’t have to be a complex, code-heavy endeavor. With the right tools, you can have a powerful AI agent running in minutes. Follow these steps for a smooth and effective installation.

Step 1: Define Your Chatbot’s Primary Goal
First, determine the main purpose of your chatbot. A bot without a clear objective will only frustrate users. What is the primary problem you want it to solve?
- Customer Support: Answering frequently asked questions (FAQs), providing order status updates, or guiding users to knowledge base articles.
- Sales & Lead Generation: Recommending products, collecting contact information, or booking demos.
- User Engagement: Welcoming visitors, pointing them to new content, or conducting surveys.
Step 2: Choose the Right WordPress AI Chatbot Plugin
The WordPress ecosystem is filled with plugins, but not all are created equal. You need a solution that is powerful, easy to use, and built specifically for the WordPress environment. Look for features like no-code setup, multiple AI model support, and advanced data handling.
This is where a specialized platform like MxChat truly shines. Unlike generic chatbot tools, MxChat is designed from the ground up for WordPress. It leverages advanced Retrieval-Augmented Generation (RAG) technology, allowing it to learn from your website’s content and provide highly accurate, context-aware responses. Its no-code interface means you can build and deploy unlimited intelligent agents without writing a single line of code.
Step 3: Install and Activate the Plugin
Once you’ve chosen your plugin, the installation process is straightforward WordPress protocol.
- Log in to your WordPress dashboard.
- Navigate to Plugins > Add New.
- Search for your chosen plugin (e.g., MxChat) or upload the plugin file if you downloaded it from their website.
- Click Install Now, and then click Activate.
Step 4: Configure and Train Your AI Agent
This is the most critical step in your WordPress AI chatbot setup. After activation, you’ll find a new menu item in your dashboard for your chatbot plugin. Here, you will configure its ‘brain.’
With a platform like MxChat, this process is incredibly intuitive:
- Data Source: Simply tell the AI which parts of your site it should learn from. This can be your pages, posts, or even specific WooCommerce products. The RAG technology will automatically index this content to deliver precise answers.
- Set the Personality: Define the chatbot’s persona. Should it be professional, friendly, witty, or strictly formal? This ensures the bot’s tone aligns with your brand voice.
- Establish Rules & Prompts: Create a base prompt that instructs the AI on its core function, its name, and how it should behave. For example: “You are a helpful support assistant for MxChat. Your goal is to answer user questions based on the website’s content. Always be polite and professional.”
Step 5: Customize the Chatbot’s Appearance
Your chatbot should feel like an integrated part of your website, not a tacked-on widget. Customize its appearance to match your site’s branding.
- Change the colors of the chat window, icon, and text.
- Upload your company logo to appear in the chat header.
- Customize the welcome message that greets users.
Step 6: Test, Deploy, and Monitor Performance
Before unleashing your chatbot on all your visitors, test it thoroughly. Interact with it as a customer would. Ask it difficult questions, try to confuse it, and check its responses for accuracy and tone.
Once you’re satisfied, deploy it on your live site. But the work isn’t done. Regularly review chat logs and analytics to understand what questions users are asking. This data is a goldmine for identifying content gaps on your site and opportunities to improve the chatbot’s knowledge base.
Common Mistakes to Avoid with Your AI Chatbot Implementation
Even with the best tools, pitfalls exist. Be mindful of these common errors to ensure a successful launch.
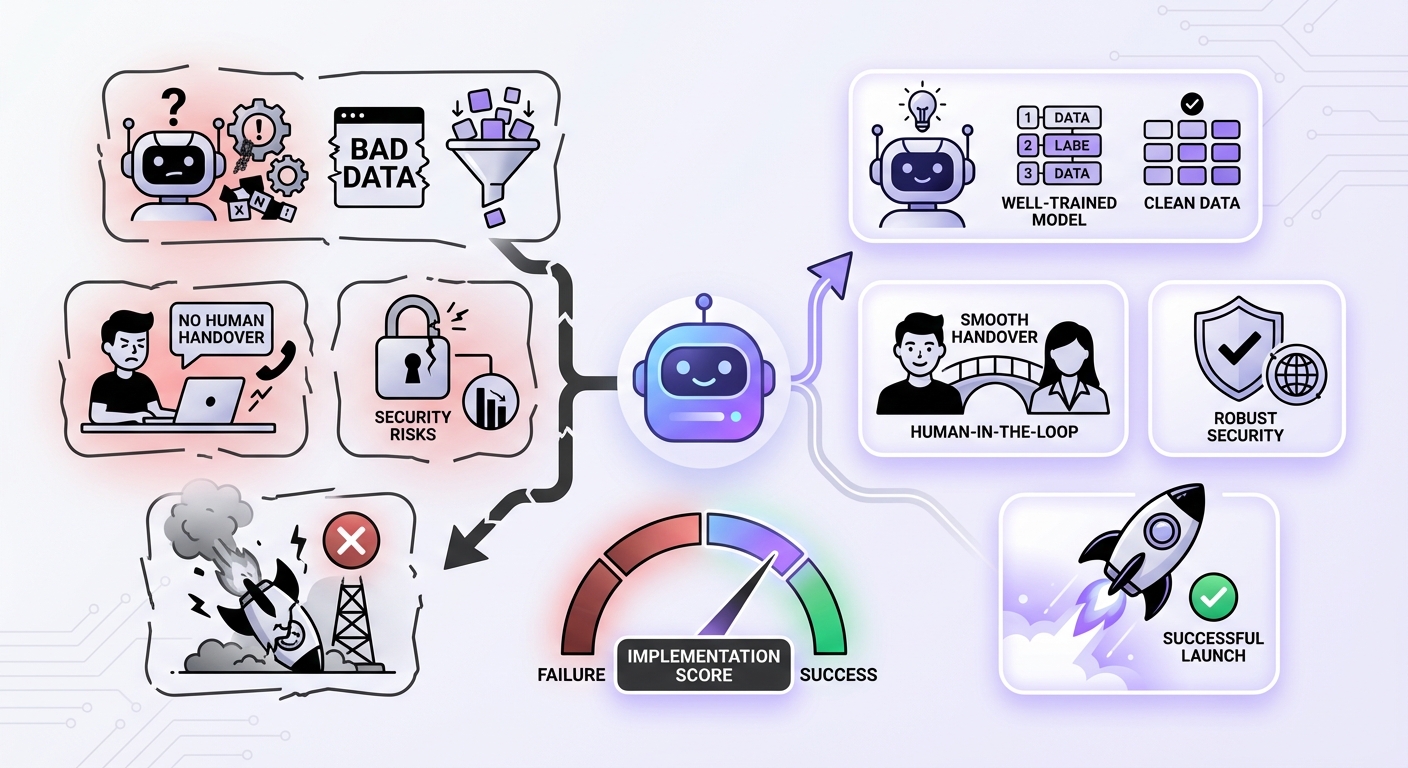
- Vague or No Purpose: A chatbot that tries to do everything will fail. Keep it focused on the primary goal you defined in Step 1.
- Poor Data Training: If the bot isn’t trained on your specific content, it will give generic or incorrect answers. This is why using a tool with advanced RAG technology, like MxChat, is crucial for accuracy.
- No Human Escalation Path: The AI won’t know everything. Always provide a clear and easy way for users to connect with a human agent if the chatbot can’t resolve their issue.
- A “Set It and Forget It” Mindset: An AI chatbot is not a one-time setup. It requires ongoing monitoring and refinement to remain effective and adapt to your customers’ needs.
Expected Results: The Impact of a Well-Configured AI Chatbot
After completing your WordPress AI chatbot setup, you can expect to see tangible improvements across your business. A well-implemented chatbot acts as a tireless digital employee, working 24/7 to improve your website’s performance.
Within weeks, you should notice:
- A significant reduction in repetitive support tickets.
- An increase in qualified leads and conversions.
- Higher user engagement metrics, such as time on page and session duration.
- Valuable insights into customer pain points and interests, gathered from chat analytics.
Conclusion: Transform Your Site with an Intelligent Assistant
Setting up an AI chatbot on your WordPress site is no longer a luxury—it’s a strategic necessity in 2025. By following this step-by-step guide, you can create a powerful tool that enhances customer satisfaction, boosts sales, and streamlines your operations. The key is to define your goals clearly and choose the right platform for the job.
For WordPress users seeking a seamless, powerful, and code-free solution, exploring a purpose-built platform like MxChat is an excellent starting point. Its focus on WordPress best practices and advanced AI technology ensures you can deploy a truly intelligent agent that delivers real business results.