How to Add an AI Chatbot to WordPress (No Coding)
In today’s 24/7 digital landscape, your customers expect instant answers. Failing to provide immediate support can mean losing a potential sale or frustrating a loyal client. This is where AI chatbots shine, but the technical complexity often seems daunting. Fortunately, learning how to integrate an AI chatbot with WordPress without coding is not only possible but surprisingly straightforward with the right tools.
This guide will walk you through the entire process, step-by-step, empowering you to deploy an intelligent, automated assistant on your website in minutes, not months.
Why Add an AI Chatbot to Your WordPress Site?
Before diving into the ‘how,’ let’s quickly cover the ‘why.’ Integrating an AI chatbot is more than just adding a fancy widget; it’s a strategic business decision that delivers tangible results:

- 24/7 Automated Support: Your chatbot works around the clock, answering common questions, resolving issues, and guiding users even when your team is offline.
- Improved Lead Generation: Chatbots can engage visitors proactively, qualify leads with targeted questions, and capture contact information through integrated forms, directly boosting your sales pipeline.
- Enhanced User Experience: By providing instant, accurate answers, you reduce friction and help visitors find what they need faster. Modern chatbots use advanced technology like Retrieval-Augmented Generation (RAG) to pull information directly from your website content, ensuring contextual and reliable responses.
- Reduced Support Costs: Automating responses to repetitive queries frees up your human agents to focus on complex, high-value interactions. This boosts efficiency and reduces the overall cost of customer service.
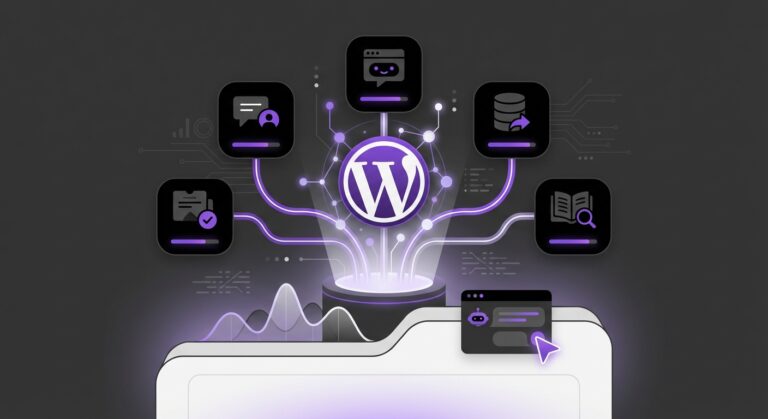
The No-Code Solution: Using a WordPress Plugin
For WordPress users, the easiest and most effective way to add an AI chatbot is by using a dedicated plugin. Plugins eliminate the need for complex programming, API integrations, or wrestling with chatbot development frameworks. You simply install, activate, and configure.
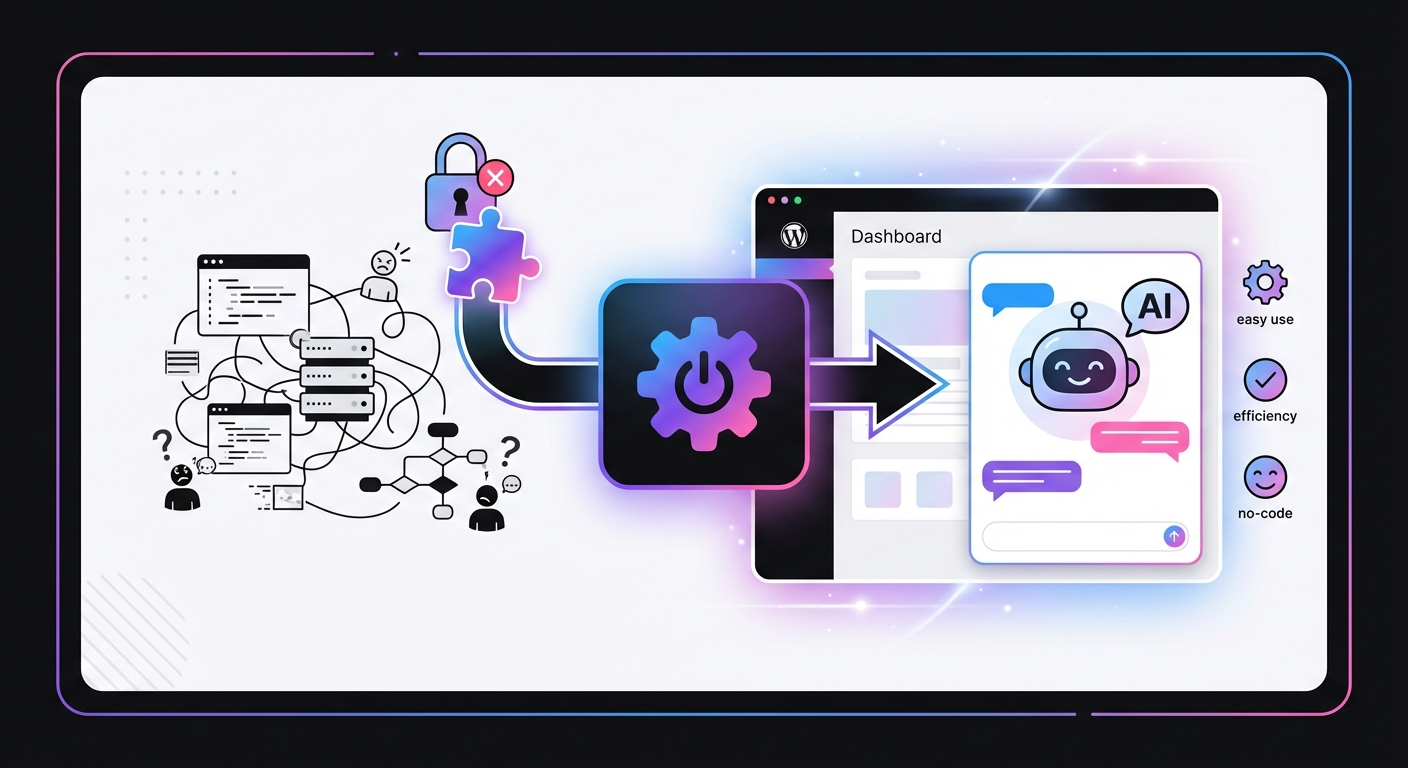
A powerful, no-code plugin like MxChat handles all the heavy lifting. It allows you to connect to leading AI models (like OpenAI’s GPT, Claude, and Gemini), train the bot on your own content, and customize its appearance—all from a user-friendly dashboard inside WordPress.
Step-by-Step: How to Integrate an AI Chatbot with WordPress
Ready to get started? Follow these five simple steps to deploy your AI assistant.
Step 1: Choose the Right AI Chatbot Plugin
The most critical step is selecting a plugin that fits your needs. Not all chatbot plugins are created equal. Look for these key features:
- Ease of Use: A clean, intuitive interface is non-negotiable for a no-code solution.
- Knowledge Base Training: The ability to automatically train the AI on your website’s pages, posts, and documents is crucial for providing accurate answers.
- Customization: You should be able to change the colors, icons, and welcome messages to match your brand.
- Integrations: Look for integrations with essential tools, especially if you run an online store. WooCommerce integration for product recommendations and order tracking is a game-changer.
- Advanced Features: Capabilities like live agent handoff, multi-bot support for different departments, and chat transcript analysis provide long-term value.
Step 2: Install and Activate the Plugin
Once you’ve chosen your plugin, installing it is a standard WordPress procedure.
- Log in to your WordPress dashboard.
- Navigate to Plugins > Add New.
- In the search bar, type the name of your chosen plugin (e.g., “MxChat”).
- Click “Install Now” next to the correct plugin.
- After installation is complete, click “Activate”.
Step 3: Configure Your First Chatbot
This is where you bring your AI assistant to life. The initial setup typically involves a few core settings.
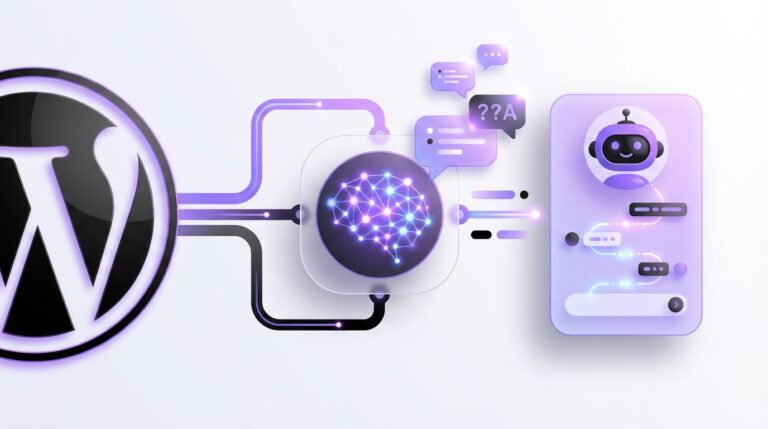
- Connect to an AI Model: Your plugin will prompt you to connect your preferred AI model. This usually involves adding an API key from a provider like OpenAI, Anthropic (Claude), or Google (Gemini).
- Set the Base Prompt/Instructions: Define the chatbot’s personality and purpose. You can instruct it to be professional, friendly, or funny. You can also give it rules, such as “Never provide medical advice” or “Always direct sales questions to the sales page.” This is key to transforming customer service: the power of conversational AI support for WordPress.
Step 4: Customize the Chatbot’s Appearance
To ensure a seamless user experience, your chatbot should look like a natural part of your website. Navigate to the customization or theme settings within your plugin.
Here, you can typically adjust:
- Colors: Match the header, chat bubbles, and buttons to your brand’s color palette.
- Icon: Change the default chat icon to something more on-brand.
- Positioning: Choose where the chat widget appears on the screen (e.g., bottom-right).
- Welcome Message: Craft an engaging opening message that invites users to interact.
Step 5: Deploy the Chatbot on Your Website
With configuration and customization complete, the final step is to make the chatbot live. In most plugins, this is as simple as flipping a switch in the main settings to “Enable” the chatbot globally.
Some plugins also provide a shortcode, allowing you to place the chatbot on specific pages or posts if you don’t want it to appear sitewide. Once enabled, visit your website to see your new AI assistant in action!
Common Mistakes to Avoid
Integrating a chatbot is easy, but optimizing it for success requires avoiding a few common pitfalls:
- Insufficient Training: Don’t just train the bot on your homepage. Feed it your FAQ page, product documentation, blog posts, and about page for a well-rounded knowledge base.
- No Clear Purpose: A chatbot that tries to do everything often fails. Define its primary role—is it for support, sales, or lead generation? Tailor its prompts and knowledge accordingly.
- Hiding the Human Handoff: Always provide a clear path for users to speak with a human agent. An AI that traps a frustrated user in a loop creates a negative experience.
- Set-It-and-Forget-It Mentality: Regularly review chat transcripts. This provides invaluable insight into what your customers are asking, revealing gaps in your knowledge base or areas where the AI’s responses can be improved.
Expected Results: What Happens After Integration?
Once you successfully integrate an AI chatbot with WordPress without coding, you can expect to see positive changes quickly. Businesses often report an immediate reduction in repetitive support emails and calls. Website visitors spend more time on the site as they get their questions answered instantly, leading to higher engagement.
For e-commerce sites, a well-integrated chatbot can act as a virtual sales assistant, guiding customers to the right products and clarifying doubts, which can directly boost sales with a chatbot for WordPress. Over time, the data gathered from chat logs will help you better understand your customers’ needs, informing your content strategy and business decisions.
Conclusion: Your Automated Assistant Awaits
Integrating an AI chatbot into your WordPress site is no longer a complex, code-heavy project reserved for large enterprises. By leveraging a user-friendly plugin, any website owner can deploy a powerful AI assistant to enhance customer support, generate leads, and improve the overall user experience.
The process is simple: choose a robust plugin, install it, feed it your website’s content, customize its appearance, and go live. Solutions like MxChat are designed to make this process seamless, offering a powerful, no-code platform with a free plan to get started and a one-time lifetime deal for full access. By following the steps outlined above, you can unlock the transformative power of AI on your website today.