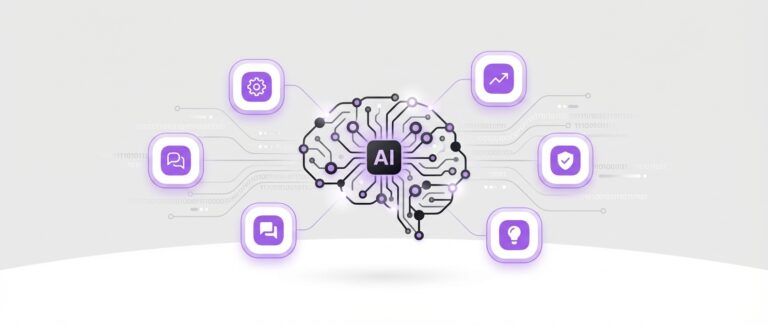
In the rapidly evolving digital world, businesses are constantly seeking ways to improve customer engagement and streamline user interactions. One of the most effective tools for achieving this is an AI chatbot. An AI chatbot can handle everything from answering basic queries to providing real-time support for customers. If you’re wondering how to add an AI chatbot to your WordPress site, you’re in the right place.
This detailed guide will show you everything you need to know about adding an AI chatbot to your WordPress website, using MxChat as an example of a powerful, customizable AI chatbot plugin. We’ll walk through the steps, benefits, and important features you should consider.
Why Add an AI Chatbot to WordPress?
Before diving into the “how,” it’s important to understand the “why.” AI chatbots bring numerous benefits to your website, including:
24/7 Support: AI chatbots are always available, meaning you can provide instant assistance to your visitors at any time of day.
Improved User Engagement: By having an AI chatbot on your site, you can interact with users in real-time, answering questions, guiding them through processes, and ensuring a better experience.
Increased Conversions: Chatbots can help turn visitors into customers by answering pre-purchase questions and recommending products.
Cost-Effective: AI chatbots reduce the need for live support staff, allowing your business to save money while still delivering excellent customer service.
Automated Lead Capture: Many AI chatbots can automatically capture lead information such as emails or contact details, which can be integrated into your CRM or email marketing software.
Now, let’s get into the process of adding an AI chatbot to WordPress.
Step 1: Choose the Right AI Chatbot Plugin for WordPress
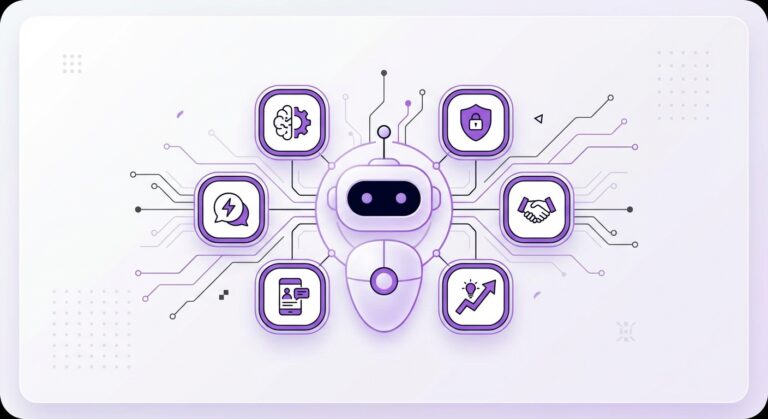
The first step is to choose the right AI chatbot plugin that fits your needs. There are several options available, but MxChat is an excellent example of a powerful and customizable AI chatbot for WordPress. It integrates OpenAI’s GPT models and the X.AI API (Pro version), providing real-time, intelligent interaction with your users.
Here’s why MxChat stands out as the perfect solution for adding an AI chatbot to your WordPress site:
Advanced AI Capabilities: MxChat leverages the power of GPT models, ensuring accurate, context-aware responses.
Customizable: You can tailor the chatbot’s appearance and behavior to match your website’s branding and functionality.
Lead Capture: The chatbot can capture leads (emails, phone numbers) and integrate with services like Loops to build your marketing list.
Ecommerce Support: If you have a WooCommerce store, MxChat can assist with product recommendations and orders.
GDPR Compliance: With Complianz integration, MxChat ensures GDPR compliance, only showing the chatbot to users who consent to cookies.
Once you’ve selected MxChat as your preferred plugin, it’s time to install and activate it.
Step 2: Install and Activate MxChat on WordPress
Adding MxChat to your WordPress site is simple. Here’s how to do it:
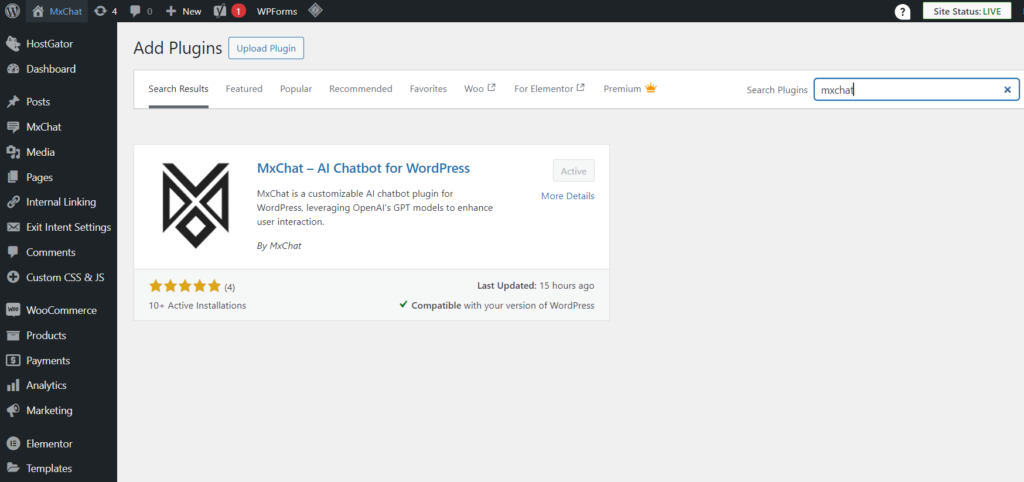
1. Install MxChat from the WordPress Plugin Directory:
Login to your WordPress Dashboard.
In the left-hand menu, navigate to Plugins > Add New.
In the search bar, type “MxChat” and click Install Now once you find the plugin.
After installation, click Activate.
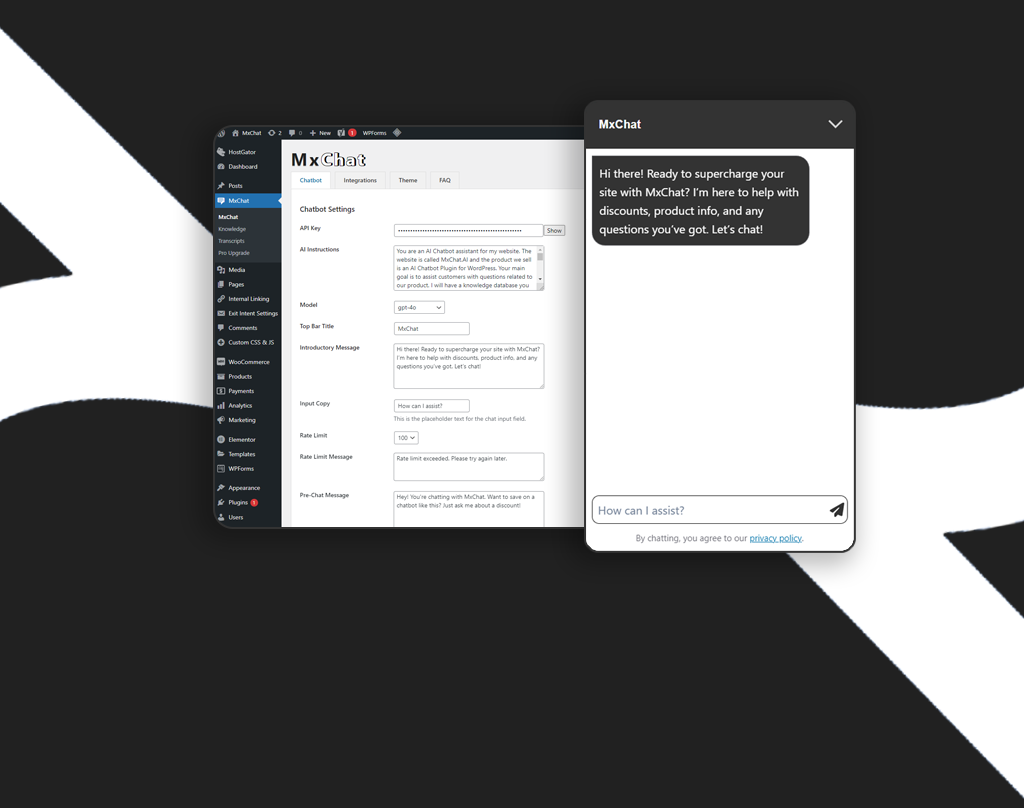
Install a Chatbot on WordPress
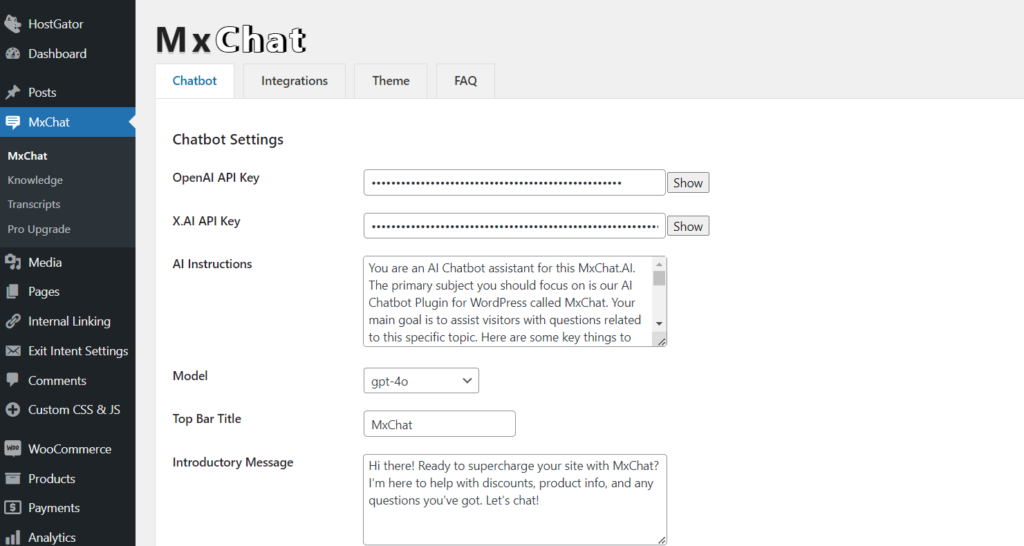
2. Enter API Keys:
Once activated, MxChat will appear in your WordPress dashboard. Navigate to the MxChat Settings page to configure the plugin. You’ll need to enter your OpenAI API key to enable GPT-based AI responses.
If you are a Pro user, you’ll also need to enter your X.AI API key. This allows you to access advanced AI models such as grok-beta, giving you more powerful language processing capabilities for enhanced conversations.
Step 3: Customize the Chatbot’s Appearance and Behavior
One of the great features of MxChat is that you can fully customize the chatbot to align with your site’s branding and functionality. Here’s how to configure it:
1. Choose a Chatbot Theme:
MxChat allows you to customize the chatbot’s look and feel. You can change the colors, fonts, and size of the chatbot widget to ensure it matches your website’s overall design.
In the MxChat Settings, select the Appearance tab.
Here, you can modify the colors, fonts, and layout of the chatbot.
2. Set the Chatbot’s Behavior:
Decide how you want the chatbot to interact with users. You can customize the following options:
Introductory Message: Set a welcome message that will appear when users open the chat. This is your opportunity to greet visitors and offer assistance.
Custom Responses: You can personalize the chatbot’s responses by feeding it custom knowledge or FAQs about your business.
Step 4: Adding Custom Knowledge to the Chatbot
One of the most powerful features of MxChat is the ability to add custom knowledge, ensuring the chatbot can respond specifically to queries related to your business. Here’s how you can do it:
1. Manual Knowledge Submission:
You can manually add content that you want the chatbot to reference. This could be FAQs, articles, or any other text you want the chatbot to use.
Go to MxChat > Knowledge in the dashboard.
Manually input specific articles, FAQs, or content that you want the chatbot to pull from.
2. URL and Sitemap Submission:
You can also submit URLs or your site’s sitemap. This allows the chatbot to extract content from your website automatically.
Navigate to MxChat > Knowledge.
Enter specific URLs or submit your website’s sitemap to allow the AI to learn from the pages on your site.
This ensures that the AI provides contextually relevant responses, tailored to your products, services, or content.
Step 5: Embedding the Chatbot on Your WordPress Site
Once you’ve configured and customized your AI chatbot, it’s time to place it on your WordPress site. MxChat offers several ways to embed the chatbot:
1. Add the Chatbot to Any Page via Shortcode:
You can easily add the chatbot to any page by using a shortcode. Simply place the shortcode on any page or post where you want the chatbot to appear.
2. Automatically Append Chatbot to Your Site:
Alternatively, you can enable the option to append the chatbot widget to the body of your site. This will display the chatbot across all pages:
Go to MxChat Settings > General and enable the Append Chatbot to Body option.
This ensures that the chatbot is available to users wherever they navigate on your site.
Step 6: Testing and Optimizing the AI Chatbot
Before launching your AI chatbot, it’s important to test it thoroughly. Make sure the chatbot is responding appropriately to common questions and that its performance is up to your standards. You can do this by engaging with the chatbot yourself or asking team members to test it out.
Once live, monitor the chatbot’s performance. MxChat provides access to chat transcripts, which you can review to understand how users are interacting with the chatbot and where improvements might be needed.
Additionally, MxChat Pro users can enable rate limit settings to control how many interactions occur in a given timeframe. This helps ensure your chatbot remains responsive and prevents overuse.
Step 7: Ongoing Maintenance and Updates
Regularly update your AI chatbot to keep it aligned with your business goals. As your website grows, add more custom knowledge, update FAQs, and refine the chatbot’s responses to meet evolving customer needs.
Keep the plugin up to date by installing any updates provided by the MxChat development team. This ensures that your chatbot stays compatible with the latest versions of WordPress and performs at its best.
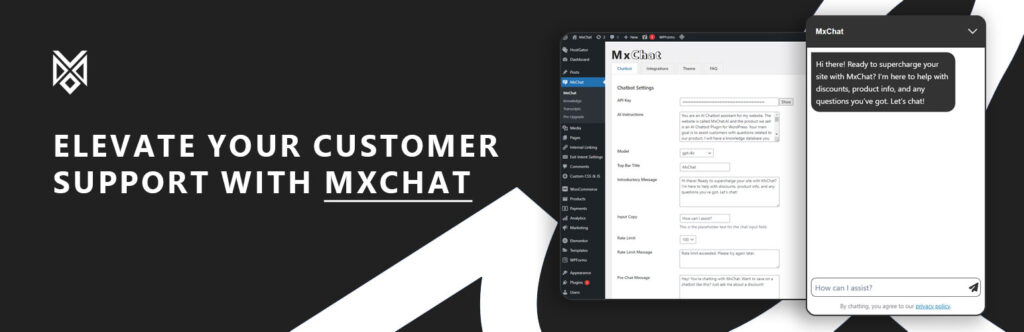
Supercharge Your WordPress Site with MxChat
Adding an AI chatbot to your WordPress site can significantly enhance user experience, improve engagement, and streamline support. With MxChat, you get a powerful, customizable AI chatbot that integrates seamlessly with your WordPress site.
Whether you’re running an eCommerce store, a blog, or a service-based website, MxChat offers the flexibility and features to make customer interactions smoother and more efficient. From lead capture to product recommendations, the possibilities are endless.
So why wait? Install MxChat today and take your WordPress site to the next level with AI-powered conversations.
In 2026, AI chatbots are essential for growth. Discover the top 5 AI chatbot features for small businesses, from no-code integration to advanced RAG technology, and learn how to choose the right solution for your company.
Discover the essential best practices for using chatbots in 2026. Learn how to choose the right platform, define a clear purpose, personalize the experience, and leverage advanced AI to transform your customer service and drive growth.
In today’s digital landscape, businesses are constantly seeking innovative ways to engage users and enhance website functionality. One such powerful tool is a “copy bot” – a type of automated assistant designed to mirror human interaction, answer queries, and provide information efficiently. If you’re looking to elevate your website’s user experience, understanding the potential of…
As a WordPress site owner, enhancing user engagement and streamlining communication is crucial. One of the most effective tools to achieve this is a chat assistant. But with so many options available, how do you choose the right one? Enter MxChat, a robust solution designed to meet diverse needs and budgets. Let’s explore how MxChat…
In the rapidly evolving world of technology, Artificial Intelligence (AI) has made significant strides, particularly in the realm of communication. One notable development is the AI chatbot, a sophisticated tool designed to simulate human conversation and assist users in various tasks. AI chatbots are transforming the way businesses interact with their customers, offering a range…
In today’s digital age, effective communication is key to maintaining a thriving online presence. The WordPress AI chatbot plugin from MxChat is designed to help you achieve precisely that. With advanced features and customizable options, MxChat is the perfect solution for enhancing user engagement and streamlining communication on your WordPress site. Why Choose MxChat for…
Wait! Don't Miss 15% Off
MxChat Pro:$59.47 (was $69.97)
MxChat Agency:$148.69 (was $174.97)
Agency Plus:$237.97 (was $279.97)
Limited Lifetime License Offer
MxChat
AI Agent
Hi there! I'm here to help with all things MxChat - from discounts and product info to technical questions and setup guidance!
👋 Hey! Want 15% OFF? Just ask me for it - seriously, that's it! 💰