Ultimate Guide: Fixing ‘Update Failed’ WordPress Plugin Issues Easily
WordPress, with its vast repository of plugins, offers unparalleled flexibility and functionality for website owners. However, updating plugins can sometimes lead to issues, leaving users to face the dreaded “update failed” message. The keyword phrase “update failed WordPress plugin fix” is a common search query, and in this blog post, we will delve into the various strategies and solutions to resolve this issue. Whether you are a seasoned developer or a beginner, this comprehensive guide will provide you with the necessary steps to troubleshoot and fix plugin update failures.
Understanding Why Plugin Updates Fail
Before diving into the solutions, it’s essential to understand why plugin updates fail. Here are some common reasons:
- Compatibility Issues: The new plugin version might not be compatible with your current WordPress version or other plugins.
- File Permission Errors: Incorrect file permissions can prevent WordPress from updating plugins.
- Insufficient Disk Space: A lack of available disk space on your server can halt the update process.
- Network Problems: Internet connectivity issues or server timeouts can interrupt the update process.
- Corrupt Plugin Files: Incomplete or corrupt plugin files can cause the update to fail.
Strategies to Fix “Update Failed” WordPress Plugin Issue
1. Backup Your Website
Before attempting any fixes, it’s crucial to back up your website. This ensures that you can restore your site to its previous state if something goes wrong. You can use plugins like UpdraftPlus or BackWPup for this purpose.
2. Check Plugin Compatibility
Verify that the plugin is compatible with your WordPress version. Visit the plugin’s page in the WordPress repository to check the version information. If it’s not compatible, you may need to wait for an update or look for an alternative plugin.
3. Adjust File Permissions
Incorrect file permissions can prevent WordPress from updating plugins. Ensure that your WordPress files have the correct permissions:
wp-content/plugins/: 755 (for directories)wp-content/plugins/plugin-name/: 644 (for files)
You can change file permissions using an FTP client like FileZilla or a file manager in your web hosting control panel.
4. Increase Disk Space
If your server is running out of disk space, you need to free up space. You can delete unused themes and plugins, clear cache files, or contact your hosting provider to upgrade your storage plan.
5. Disable All Other Plugins
Sometimes, conflicts between plugins can cause update failures. Try disabling all other plugins and then update the problematic plugin. If the update is successful, you can re-enable the plugins one by one to identify the conflicting one.
6. Manually Update the Plugin
If the automatic update fails, you can manually update the plugin. Follow these steps:
- Download the latest version of the plugin from the WordPress repository.
- Deactivate the existing plugin from your WordPress dashboard.
- Delete the old plugin files using an FTP client or file manager.
- Upload the new plugin files to the
wp-content/plugins/directory. - Activate the plugin from your WordPress dashboard.
Checking for Network Issues
Network issues can also cause plugin updates to fail. Ensure that you have a stable internet connection. If you are on a slow or unstable network, try switching to a different network or contact your hosting provider to check for server-related issues.
7. Utilizing Debugging Tools
Enable WordPress debugging to identify the root cause of the issue. Add the following lines to your wp-config.php file:
define('WP_DEBUG', true);
define('WP_DEBUG_LOG', true);
define('WP_DEBUG_DISPLAY', false);
This will create a debug log file (wp-content/debug.log) where you can find detailed error messages and potential causes for the update failure.
8. Consult Support Forums and Documentation
If you are unable to resolve the issue, consult the WordPress support forums or the plugin’s documentation. Other users may have encountered similar issues, and you may find a solution there.
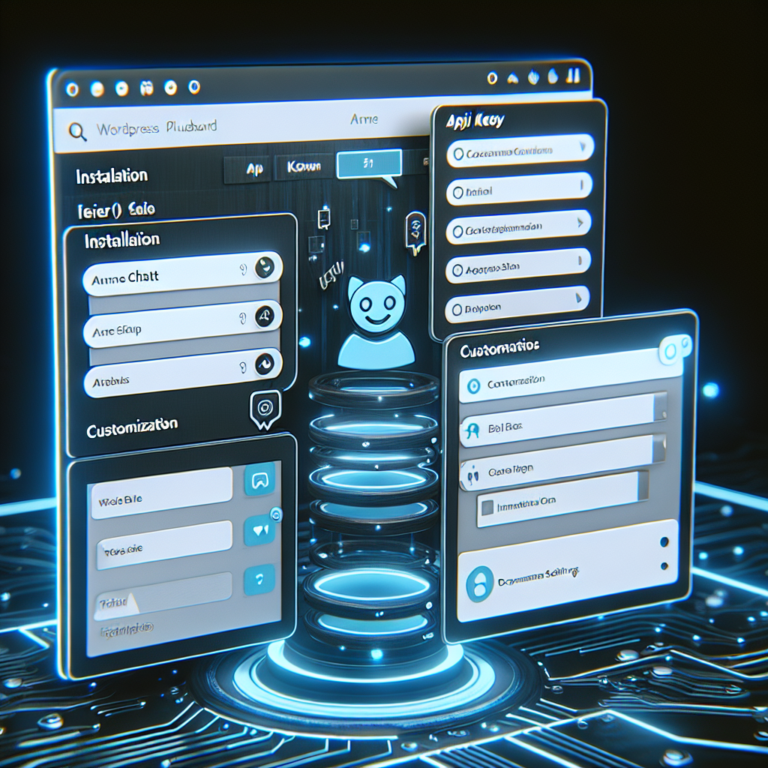
Introducing MxChat: Elevate Your WordPress Experience
While managing and troubleshooting plugins is essential, enhancing user engagement on your WordPress site is equally crucial. This is where MxChat, an AI-powered chatbot plugin, comes into play.
Key Features and Benefits of MxChat
MxChat offers a range of features to elevate user interaction and streamline communication:
- Flexible Pricing: Choose between the free version and the Pro version, which offers advanced features at a discounted rate.
- Custom Knowledge Integration: Fine-tune AI responses by adding personalized content through the WordPress admin dashboard.
- Personalization and Customization: Customize themes and interaction settings to match your website’s design.
- Cost-Effective: No hidden fees or subscription charges. Pay only for actual usage by using your own OpenAI API key.
- Advanced Features for Pro Users: Access chat logs, theme customization, and rate limit settings.
Why MxChat is Ideal for Your WordPress Site
Whether you need a straightforward chatbot or a fully tailored solution, MxChat has the right option for you. Explore the possibilities and choose the version that best aligns with your goals and budget. For more information and to purchase the MxChat Pro version, visit MxChat Pro Purchase. You can also download the MxChat version from the WordPress Directory.
By following these strategies and considering the integration of advanced tools like MxChat, you can ensure a smoother and more engaging WordPress experience for both you and your users.